Wouldn’t you agree that no store-bought gift can replace the magic of a homemade gift for boyfriend?
Store-bought gifts are expensive and impersonal. But most people opt for it because it is not easy to come up with good ideas for homemade gifts for boyfriends. Fortunately, we have a great idea.
A waterfall card is a trendy, exciting, and thoughtful DIY gift for your boyfriend!
It is easy to make. Plus, this cute homemade gift for boyfriend is guaranteed to surprise him.
Not sure what a waterfall card is? Well, let me tell you.
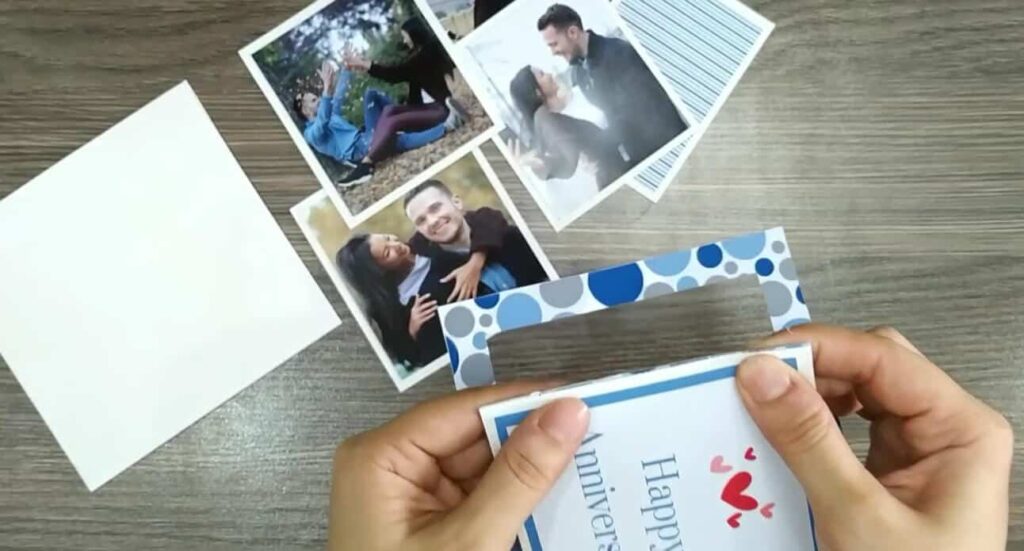
A waterfall card has a couple of images arranged in such a way that they cascade over each other. They are attached to a tab. When your boyfriend pulls the tab, the images will flow like a waterfall.
Now, imagine the stream of memories flowing down and the smile it brings to his face. Precious, isn’t it?
If you don’t know how to make waterfall cards, don’t worry. This waterfall card tutorial video will make it easy for you by outlining the entire process. Click here to watch the video.
Now that you have watched the video, you can follow our detailed instructions that will tell you exactly how to make a waterfall card step-by-step.
How to Make a Waterfall Card
Materials Needed
You will need plain and printed card stock paper as per the following list.
1. 8 pieces of plain card stock in the following sizes
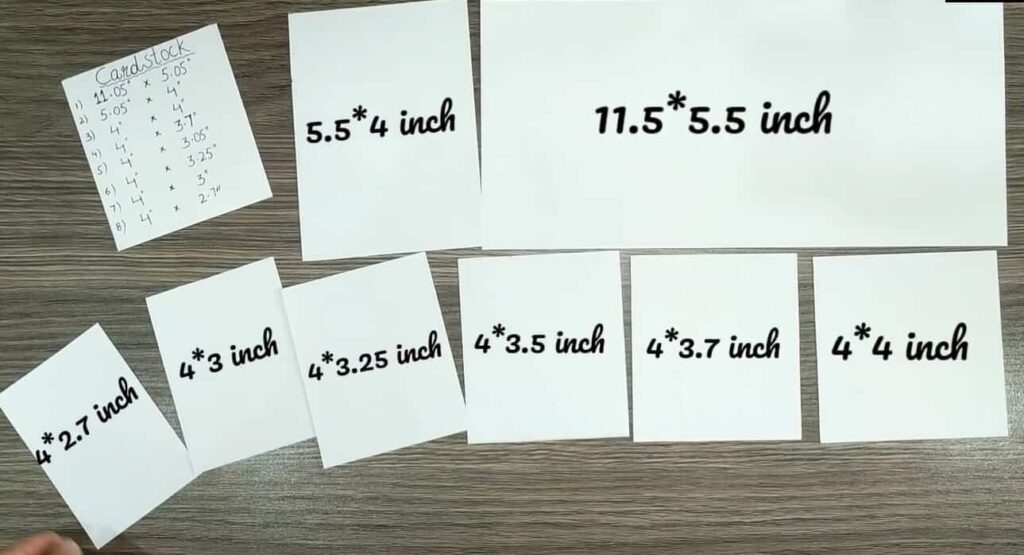
- 11.05” x 5.05”
- 5.05” x 4”
- 4” x 4”
- 4” x 3.7”
- 4” x 3.5”
- 4” x 3.25”
- 4” x 3”
- 4” x 2.7”
2. Decorative card stock in the following sizes.

- 5” x 5”,
- 4”x3.7” (for the pullout tab)
- 3.7” x 2.5”
- 3.7” x 3.7” for the printed wish
3. You will also need four photographs in the following sizes:
- 3.7” x 3.5”,
- 3.7” x 3.25”,
- 3.7” x 3” and
- 3.7” x 2.7”
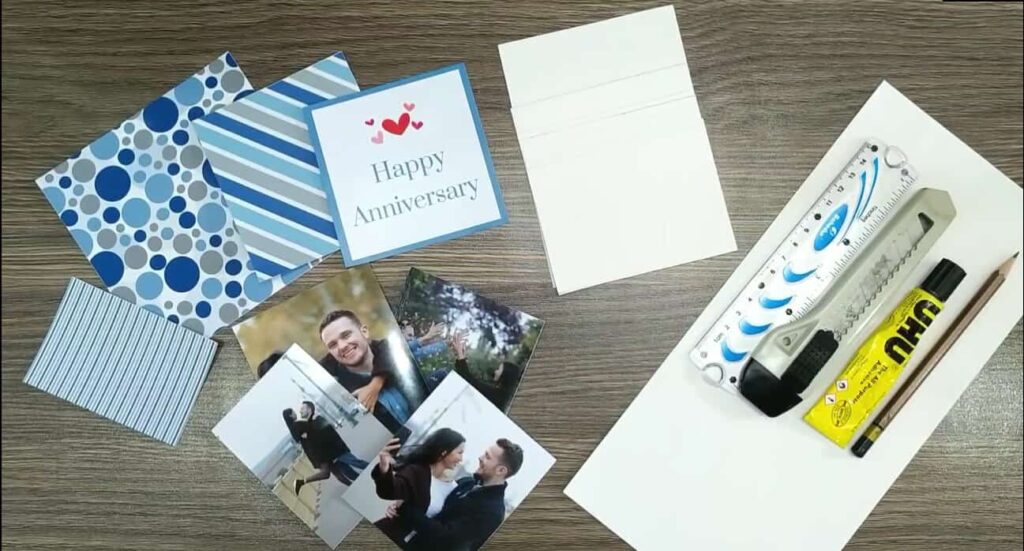
4. You will also need a ruler, paper cutter, adhesive glue, and a pencil.
Waterfall Card: Step-by-Step Instructions
Step 1: Prepare the waterfall images
- First, let us prepare the images for the waterfall section. Place the decorative card stock that measures 3.7” x 2.5” over the 4” x 4” plain card stock. Leave a neat margin on all four sides and stick them together.

- Similarly, attach the printed wish and printed images on corresponding pieces of plain card stock, leaving neat margins on all four sides.

Step 2: Create the waterfall card frame and flap
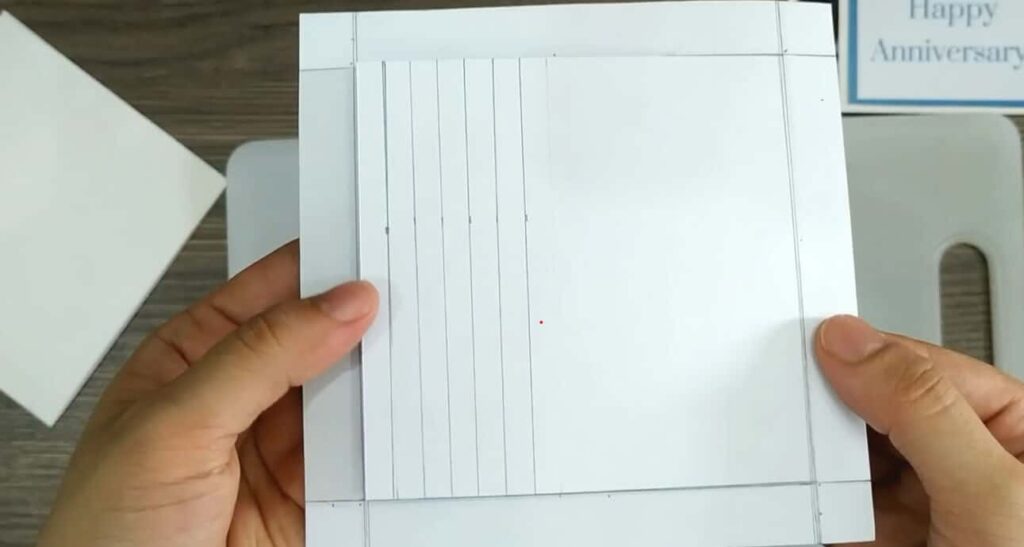
- Now, take the largest piece of plain card stock paper (5” x 5”). Fold it in half. Turn it over and mark off margins of 0.5” on each side. The lines will enclose a square within them.
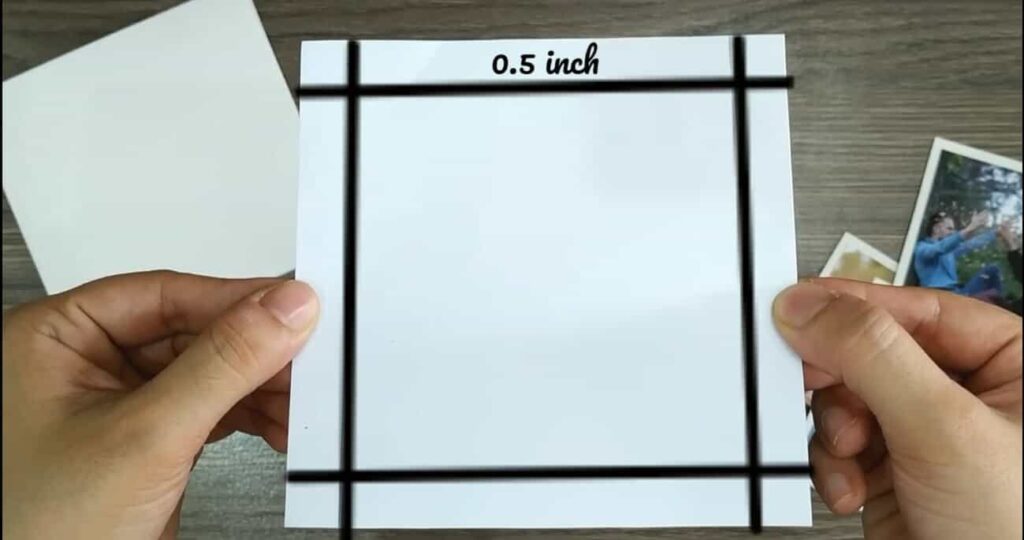
- Use a paper cutter and cut along three sides of this square. This will create a frame with a flap attached at one end.

- Next, turn the card stock to reveal its plain side. From the open end of the flap, begin marking off 6 lines at a distance of 0.25” each.
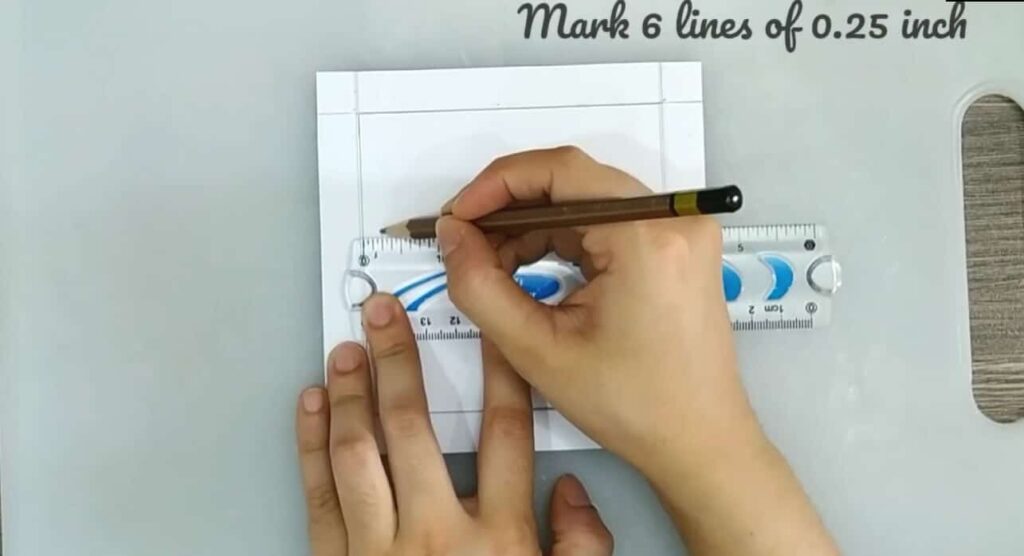
- Gently scour these lines with a paper cutter so they easily fold along the marked line.
- On the corresponding plain card stock, mark 0.25” off the margin on one side.
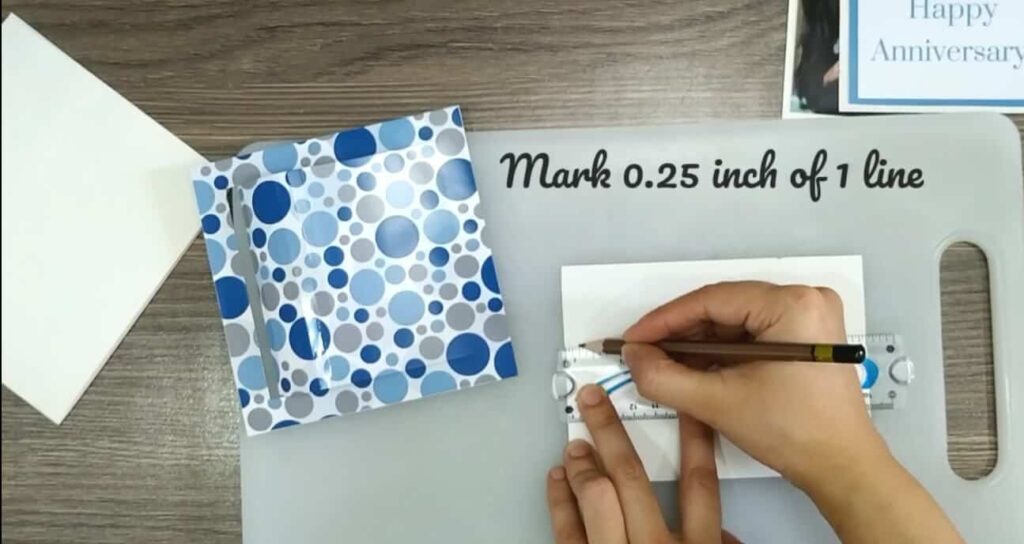
Fold the marked portion inwards.
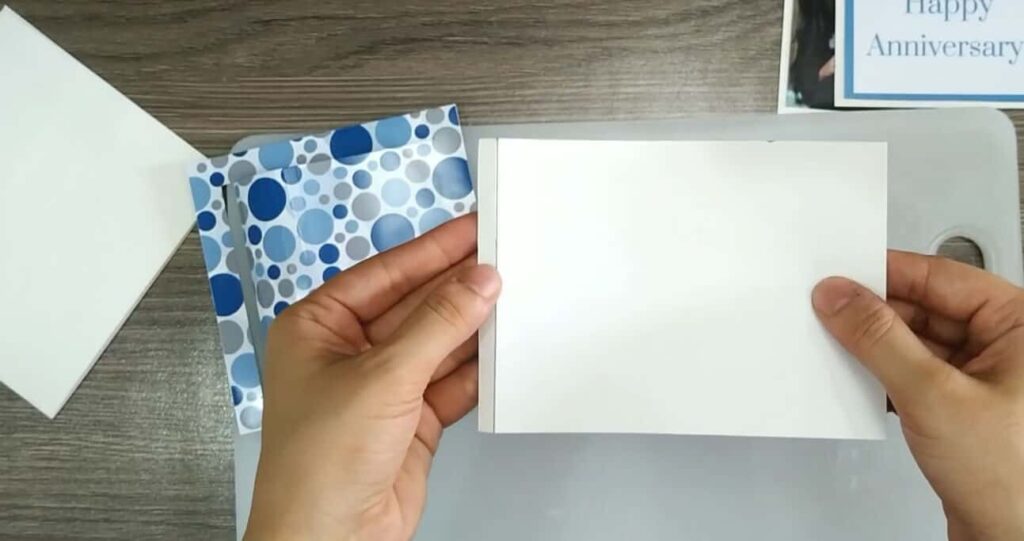
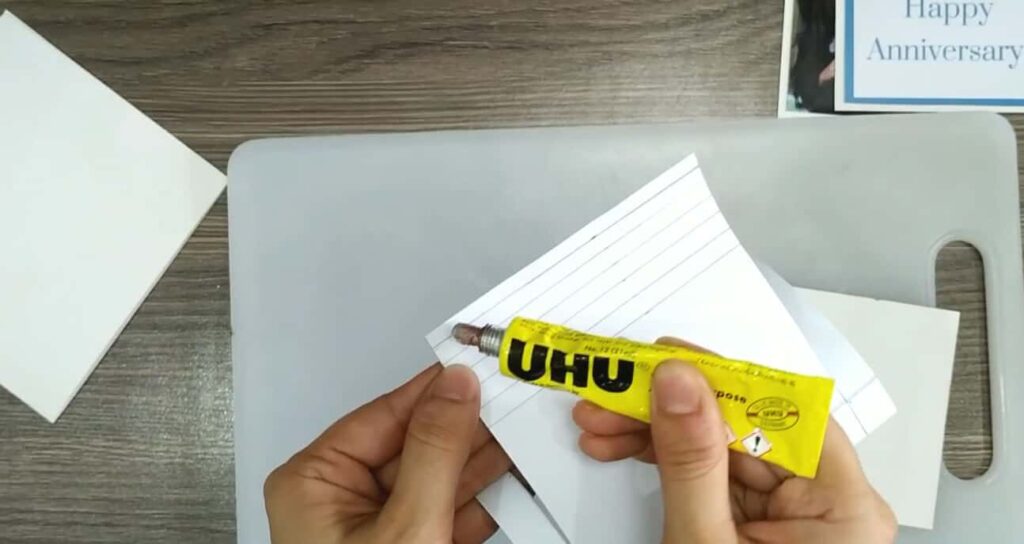
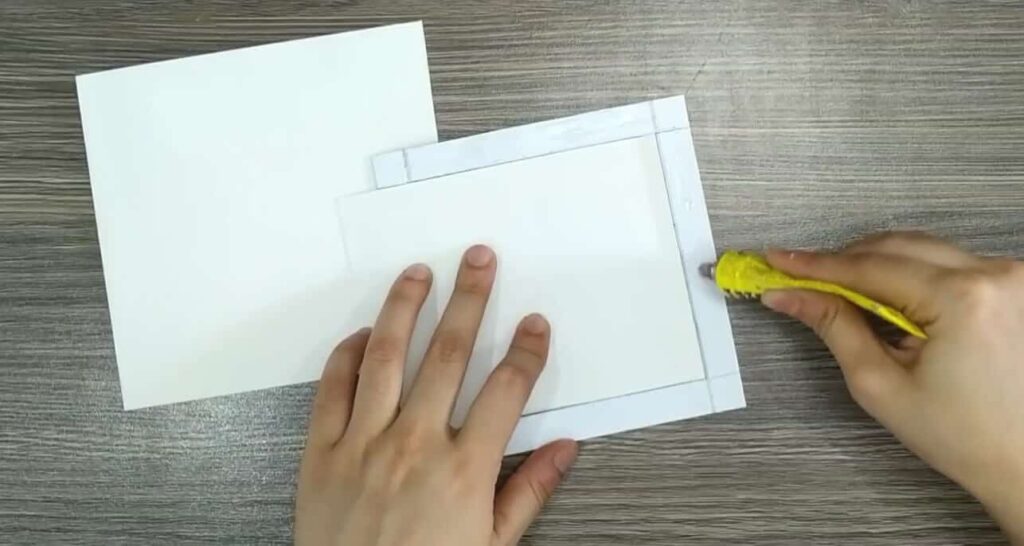
- Next, apply glue along the first fold of the printed card stock.
Attach it to the plain card stock along this line.
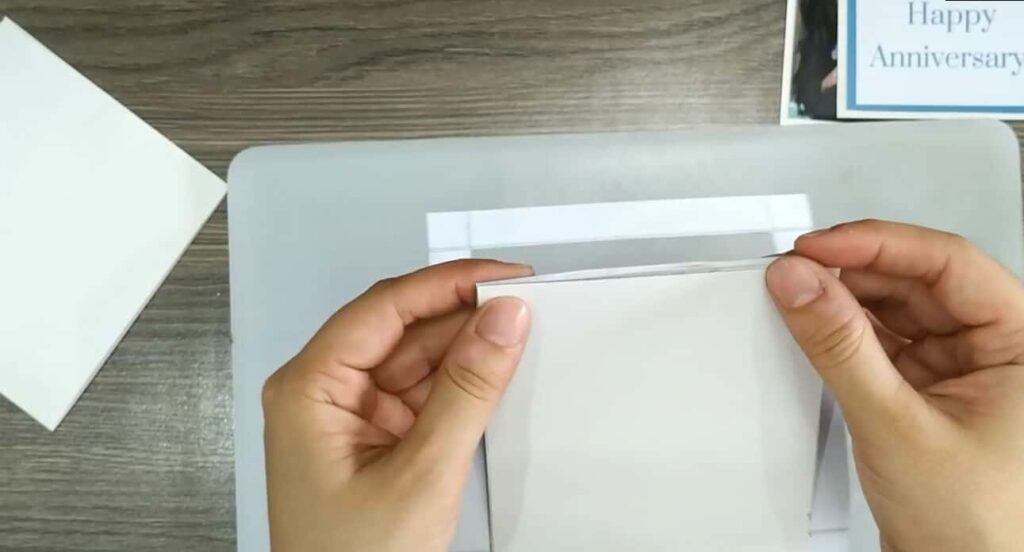
- Now turn the card over to reveal the printed side. You should be able to use the plain card stock at the end to open and close the flap.

- Next, take the printed card stock paper you set aside for the pullout tab. Stick it on the inner plain card stock that pulls the flap open.
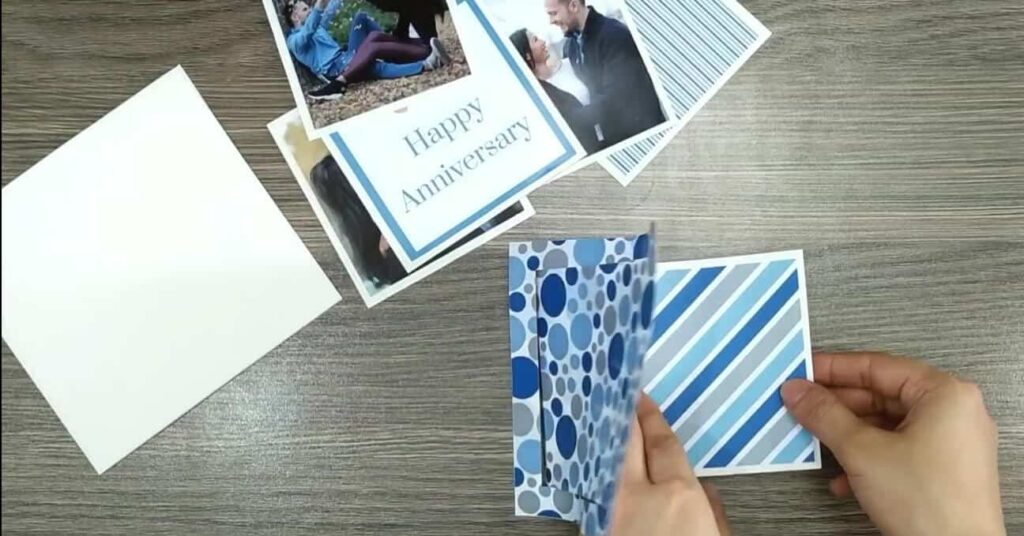
Step 3: Attach the images and printed wish
- We can now assemble the printed images. For this, apply glue to the outer edge of the very first printed card stock.
- Then, attach the printed wish and secure it along the margin.
You can download the free Happy Anniversary print which we used in this card from our website. You can also choose from various other free, beautiful templates for different occasions like Valentine’s Day or for a handmade gift for boyfriend birthday.
Download Free Happy Anniversary Printable
Download Free Happy Birthday Printable
Download Free Happy Valentine’s Day Printable
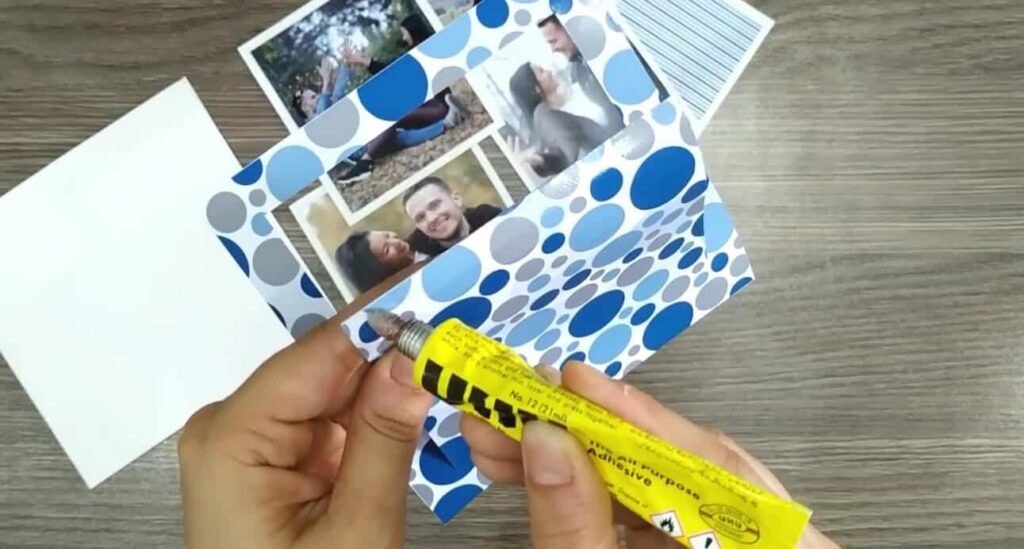
- Next, neatly line up all the images and stick them one after the other.

- Complete the arrangement by adding the card stock we prepared in the very first step at the end. The waterfall section of your card is ready.

Step 4: Assemble the card
- Now, turn the entire assembly over and apply glue to the outer edges.
- Take the plain card stock that remains and fold it in half. Then, stick the whole waterfall image arrangement onto it.

- Your waterfall card is ready. Just add a handwritten note inside and the cute handmade gift for your boyfriend is good to go!

Check our wide collection of quotes and wishes, or even poems that’s perfect to add with your personal message.
Final Note…
When you are in a relationship, there are many occasions that call for gifts. Whether it is a homemade Christmas gift for boyfriend, a DIY birthday gift, or homemade anniversary gifts for boyfriend 1 year into your relationship, waterfall cards are an excellent gift choice.
Make your very own waterfall card from scratch with this easy tutorial. The thought and effort that you put into it will certainly impress your loved one.